The polo shirt, a timeless classic, effortlessly bridges the gap between casual comfort and smart-casual elegance. From corporate uniforms and sports teams to personal style statements, its versatility is unmatched. But what if you have a unique vision for a polo shirt and want to bring it to life? That's where Adobe Photoshop comes in. Far more than just a photo editor, Photoshop is a powerful design tool that allows you to mock up, customize, and perfect your polo shirt designs before they ever hit the fabric.
Whether you're a budding fashion designer, a small business owner looking to create branded apparel, or simply someone with a creative spark, learning to design a polo shirt in Photoshop opens up a world of possibilities. This comprehensive guide will walk you through the essential steps, from setting up your canvas to adding intricate details, ensuring your design looks professional and ready for production. Get ready to transform your ideas into stunning visual representations!
Getting Started: Setting Up Your Photoshop Canvas
Before you dive into the exciting world of colors and graphics, a solid foundation is crucial. Setting up your Photoshop document correctly will save you headaches down the line and ensure your final design is production-ready.
Choosing the Right Template or Mockup
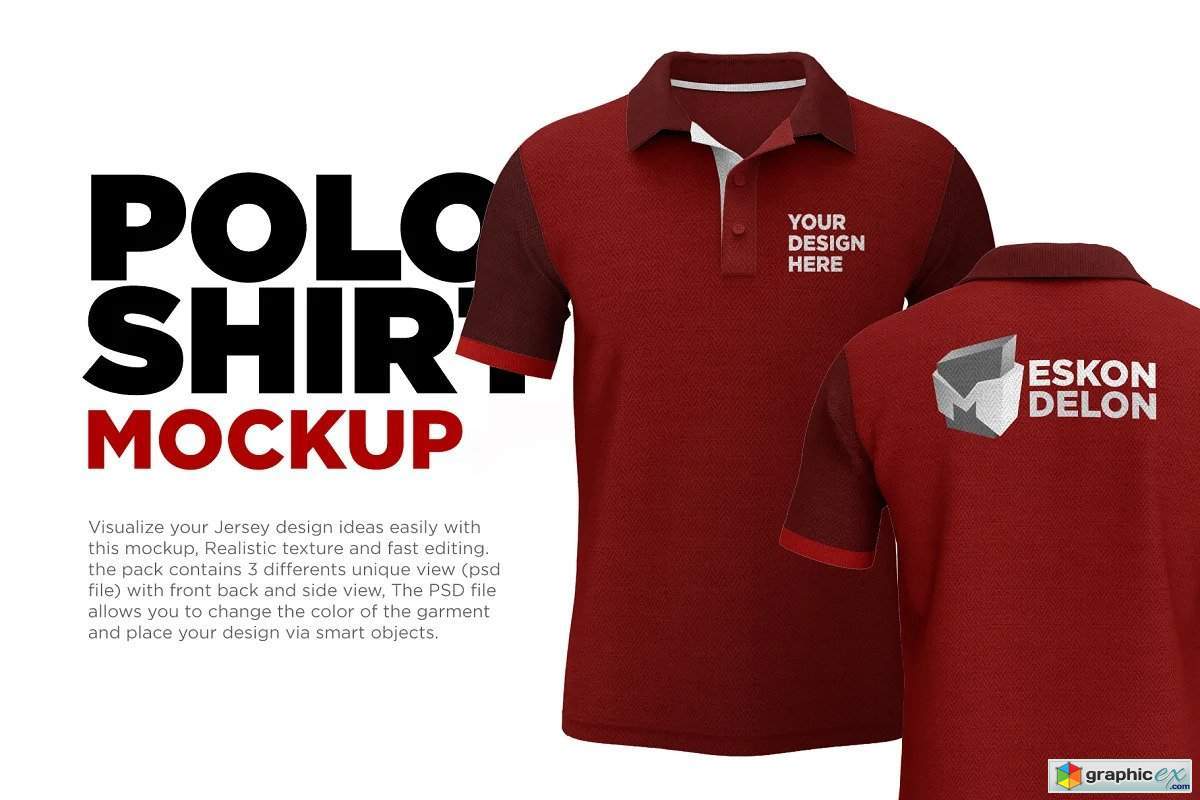
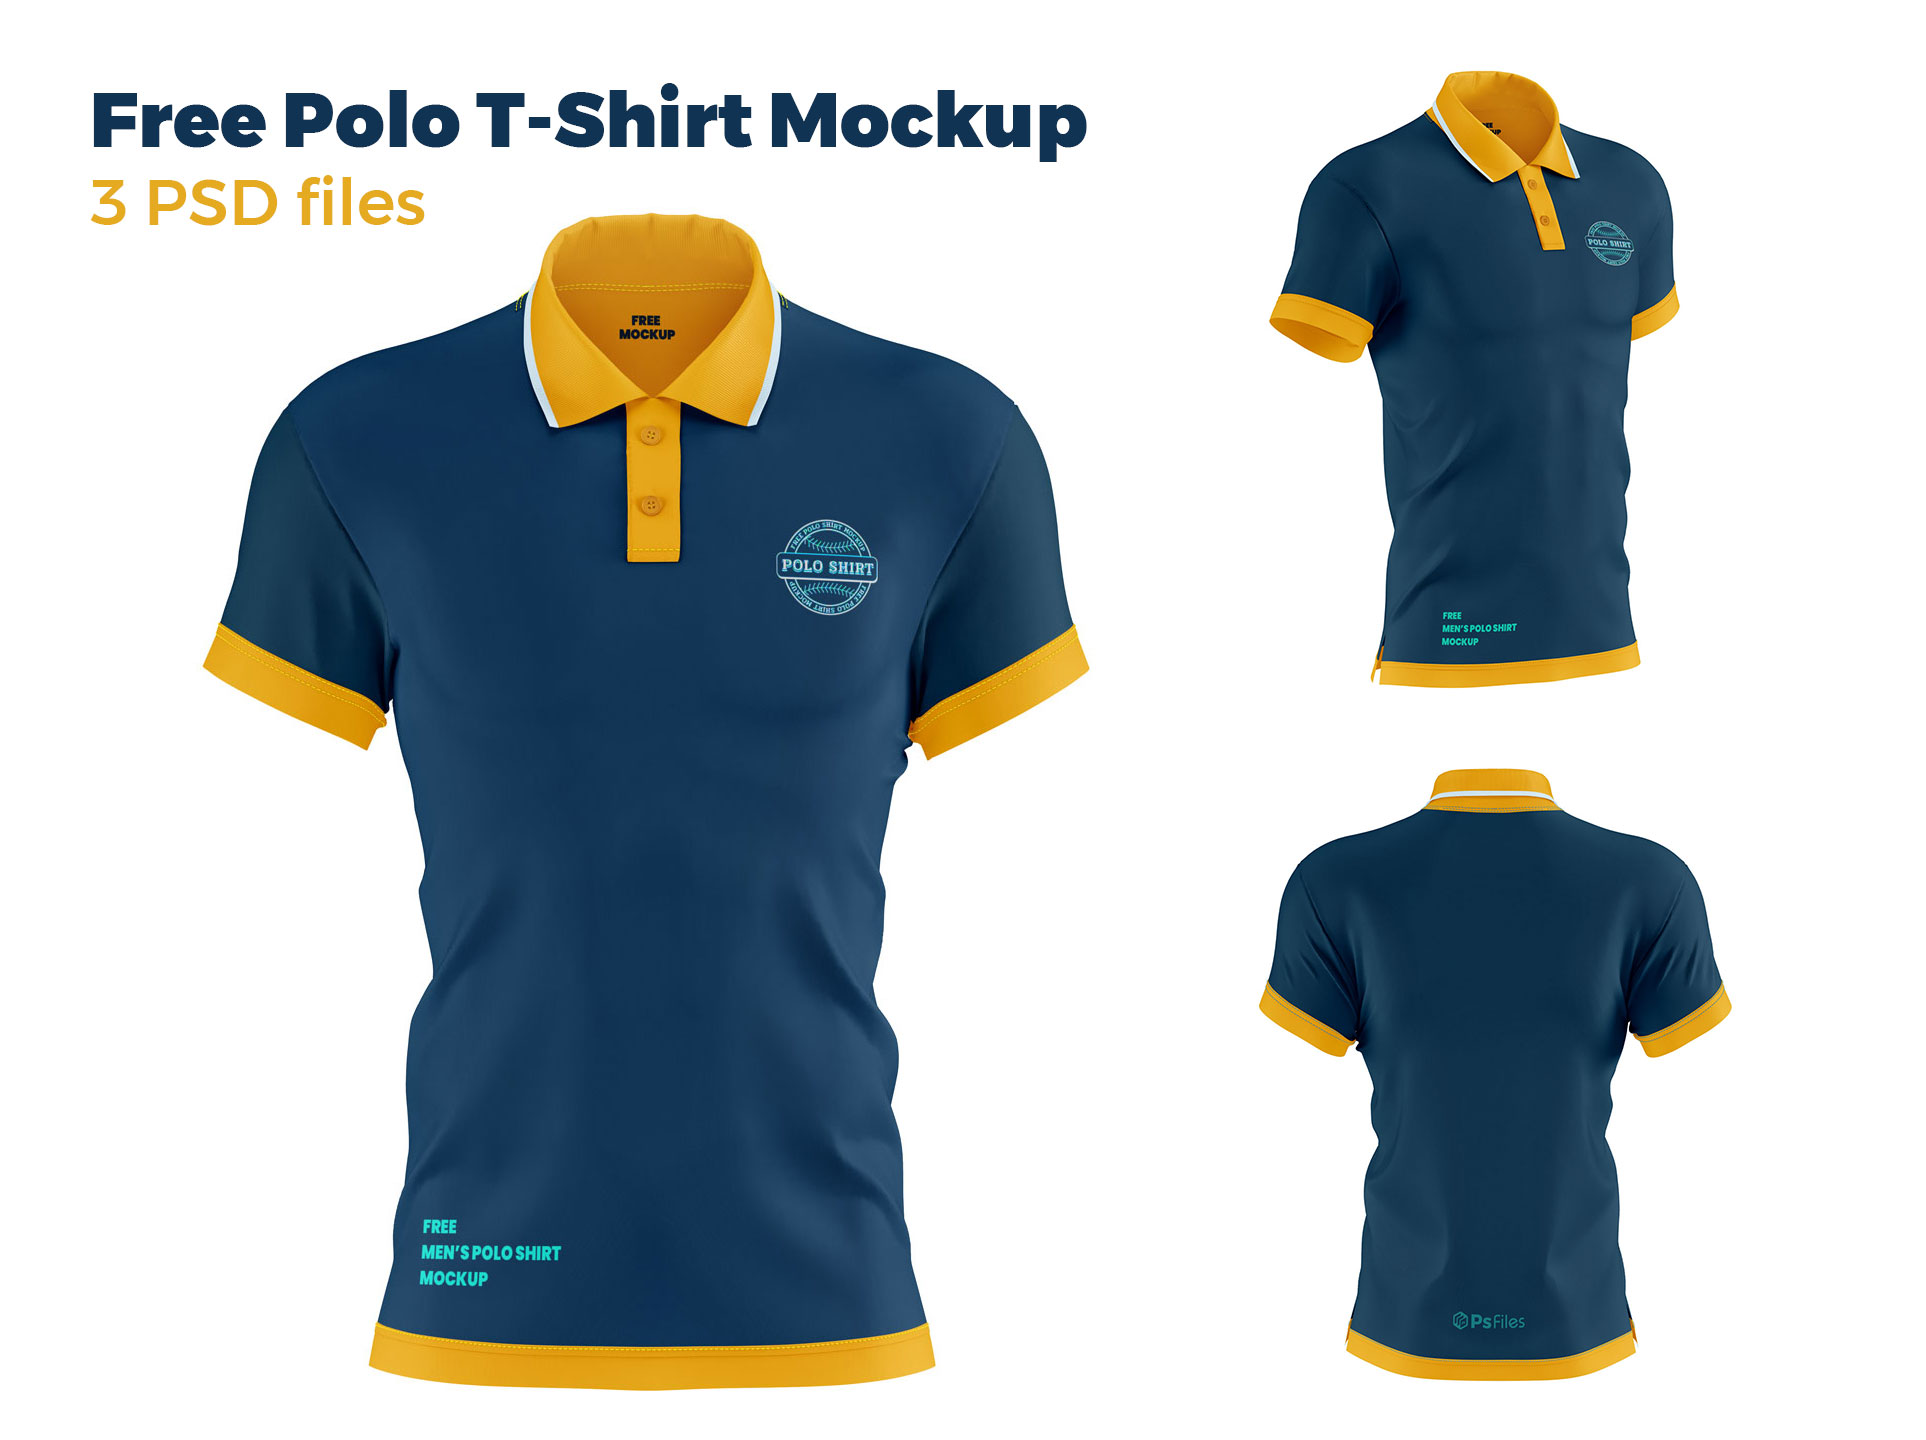
One of the most effective ways to design a polo shirt in Photoshop is by starting with a pre-made template or mockup. These are typically layered Photoshop files (.PSD) that feature a realistic image of a polo shirt, complete with shadows, highlights, and fabric folds. They provide a "background" or base onto which you can overlay your designs, making them appear as if they're already printed on the garment.
Why use a mockup? It solves the complex problem of perspective and realism. Trying to draw a polo shirt from scratch with accurate folds and drapes is incredibly challenging. Mockups handle this for you, allowing you to focus purely on the design elements. You can find free mockups on sites like Mockupworld or Freepik, or invest in premium ones from marketplaces like Envato Elements or Creative Market for higher quality and more options. Look for mockups that offer different angles (front, back, side) and are well-organized with smart object layers for easy design insertion.
Setting Up Your Document (If Starting from Scratch or Adjusting)
If you prefer to start from a blank canvas or your chosen mockup requires specific dimensions, understanding document setup is key. For print-ready designs, always aim for a high resolution, typically 300 DPI (dots per inch). This ensures crisp details and prevents pixelation when printed. Common dimensions for a full-front polo design might be around 12x14 inches, but this can vary depending on the garment size and print area. When creating a new document (File > New), set the Width, Height, and Resolution accordingly. Ensure the Color Mode is set to CMYK if your design is intended for commercial printing, as this color space is used by most printers. If it's purely for digital presentation, RGB is fine.
Organizing your layers from the outset is a habit that will serve you well. Create separate layers or layer groups for different elements: "Base Color," "Logo," "Text," "Graphics," "Shadows," etc. This makes editing and refining your design much easier.
Mastering the Basics: Core Design Elements
With your canvas ready, it's time to get down to the fundamental aspects of polo shirt design.
The Polo Shirt's Anatomy in Photoshop
A polo shirt isn't just a single canvas; it's a collection of distinct parts: the body, sleeves, collar, placket (the button-up front), and sometimes a pocket. When working with a mockup, these areas are often pre-defined, sometimes even with separate smart objects for each. If not, you'll need to use Photoshop's selection tools to isolate these areas. The Pen Tool is excellent for creating precise selections around curved edges like collars and sleeve hems. The Quick Selection Tool or Lasso Tool can also be useful for faster, less precise selections, which you can then refine with a layer mask.
Understanding these anatomical parts allows you to apply different colors, patterns, or graphics to each, creating a truly customized look. For instance, you might want a contrasting color for the collar and sleeve cuffs, or a subtle pattern on the placket.
Color Theory and Application
Color is perhaps the most impactful element of any design. It sets the mood, attracts attention, and can even influence purchasing decisions. When choosing colors for your polo shirt, consider your brand's palette, the target audience, and the overall message you want to convey. Tools like Adobe Color (color.adobe.com) can help you create harmonious color schemes.
In Photoshop, you'll primarily use the Color Picker (by clicking the foreground/background color swatches) and the Swatches panel to select and apply colors. To color different parts of the shirt, create new layers (or use existing smart object layers in a mockup) and fill them with your chosen color. Set the blending mode of these color layers to "Multiply," "Color," or "Overlay" to allow the underlying fabric texture and shadows of the mockup to show through, creating a realistic effect. Adjustment Layers, such as Hue/Saturation or Color Balance, are also powerful for tweaking colors non-destructively across your entire design or specific areas.
Adding Your Creative Touch: Graphics and Text
Now for the fun part – bringing your unique vision to life with logos, graphics, and typography.
Incorporating Logos and Graphics
Most polo shirt designs feature a logo, whether it's for a company, a sports team, or a personal brand. When importing your logo or any other graphic, always use "File > Place Embedded" or "Place Linked." This embeds the graphic as a Smart Object, which means you can resize and transform it multiple times without losing quality. This is crucial for maintaining crispness, especially if your design needs to be printed.
Once placed, position your logo on the desired area (e.g., left chest, sleeve, back). Use the Free Transform tool (Ctrl+T or Cmd+T) to resize and rotate. For a realistic look, especially on a textured fabric or a polo shirt with folds, you might need to subtly warp your graphic. Right-click while in Free Transform mode and select "Warp." This allows you to bend and distort the graphic to follow the contours of the shirt. Experiment with blending modes (e.g., "Multiply" for dark logos on light fabric, or "Overlay" for a more integrated look) to make the graphic appear as if it's truly part of the fabric, rather than just pasted on top.
Text and Typography
Text, whether it's a team name, slogan, or a simple design element, needs to be handled with care. Choose fonts that are legible and align with the overall aesthetic of your design. Use the Type Tool (T) to add text. Pay attention to sizing, kerning (spacing between letters), and leading (spacing between lines) for optimal readability.
Similar to graphics, text on a polo shirt might need to follow the shirt's contours. You can achieve this by right-clicking your text layer and selecting "Warp Text," choosing from various styles like "Arc" or "Arch." For more complex distortions, convert your text layer to a Smart Object and then use the "Warp" transformation (Edit > Transform > Warp) to manually adjust it. Avoid overly complex text effects like heavy drop shadows or strokes unless they are absolutely necessary for your design, as they can look unprofessional on apparel.
Advanced Techniques for Realism
To truly elevate your design, consider these techniques that add depth and realism.
Simulating Fabric Textures
While mockups often come with inherent fabric textures, you can enhance them or add your own. Find high-resolution fabric texture images (e.g., pique knit, cotton jersey). Place this texture layer above your design elements and experiment with blending modes like "Overlay," "Soft Light," or "Multiply" with reduced opacity. This makes your flat designs appear as if they're woven into the fabric, rather than just sitting on top. You can also use "Filter > Filter Gallery > Texture > Texturizer" on a new layer filled with gray, then set its blending mode to Overlay for a subtle effect.
Adding Shadows and Highlights
Even with a good mockup, you might want to enhance the shadows and highlights to make your design pop or to better integrate your added elements. Create new layers set to "Overlay" or "Soft Light" blending modes. Using a soft-edged brush with a low flow and opacity, paint with black to deepen shadows in creases or under collars, and with white to add highlights to raised areas. Alternatively, you can use the Dodge (for highlights) and Burn (for shadows) tools directly on your design layers, but be cautious as these are destructive edits. The goal is to mimic the existing lighting and shadows of the mockup for a cohesive look.
Wrinkles and Folds
If your mockup is very flat, or you're working without one, adding subtle wrinkles and folds can significantly increase realism. The Liquify tool (Filter > Liquify) is excellent for gently pushing and pulling parts of your design to match underlying fabric distortions. Be subtle; too much can make the design look distorted. Another method is to create new layers, paint in subtle gray lines for wrinkles, and then adjust their blending mode (e.g., "Overlay" or "Soft Light") and opacity to integrate them naturally.
Review and Export
You're almost there! The final steps involve reviewing your work and preparing it for its intended use.
Final Checks
Before you declare your design complete, conduct a thorough review. Zoom in to 100% and even 200% to check for pixelation, alignment issues, or any stray marks. Zoom out to see the overall composition. Check color consistency across all elements. Ensure all text is spelled correctly and legible. Look at the design from different perspectives – would it look good on a real person? Does it convey the intended message?
Saving and Exporting Your Design
Always save your master file in Photoshop's native .PSD format. This preserves all your layers, smart objects, and editing capabilities, allowing you to make changes easily in the future.
For presenting your design online or sending it for approval, export it as a JPEG or PNG. JPEG is great for photos and complex images, offering good compression. PNG is ideal for designs with transparency (though less relevant for a full shirt design) and maintains sharper edges for text and logos. Use "File > Export > Save for Web (Legacy)" or "File > Export > Export As..." for more control over file size and quality.
If your design is going to a printer, they will likely request a high-resolution PDF, TIFF, or the original PSD file. Always confirm their specific requirements regarding color profiles (CMYK), resolution, and file format to ensure the best possible print quality.
Summary
Designing a polo shirt in Photoshop is a rewarding process that combines technical skill with creative vision. By starting with a quality mockup, understanding the shirt's anatomy, and applying colors, graphics, and text thoughtfully, you can create professional and realistic designs. Advanced techniques like simulating fabric textures and adding realistic shadows further enhance the visual appeal, making your digital creation truly come to life. Remember to always review your work meticulously and export it in the appropriate format for its intended use, whether for web presentation or high-quality printing. With practice and patience, Photoshop empowers you to transform any polo shirt idea into a stunning reality.