Ever dreamt of wearing a polo shirt with your own unique design, a custom logo, or a statement graphic that truly represents you or your brand? Photoshop isn't just for editing photos; it's a powerful canvas for bringing your apparel design visions to life. Designing a polo shirt from scratch or customizing an existing template in Photoshop can seem daunting at first, but with the right guidance, you'll be creating professional-looking mockups and ready-to-print designs in no time. This comprehensive guide will walk you through the entire process, from setting up your workspace to exporting your final design as a high-quality PNG, perfect for sharing, mockups, or even sending to a printer.
Whether you're an aspiring fashion designer, a small business owner looking to brand merchandise, or simply someone with a creative spark, learning to design your own polo shirt in Photoshop opens up a world of possibilities. Let's dive in and transform your ideas into stunning digital designs.
Getting Started: What You'll Need
Before we jump into the creative process, let's ensure you have the necessary tools and assets ready. Having these prepared will make your design journey much smoother:
- Adobe Photoshop: Any recent version will work. If you don't have it, a free trial is often available.
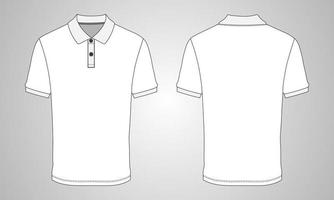
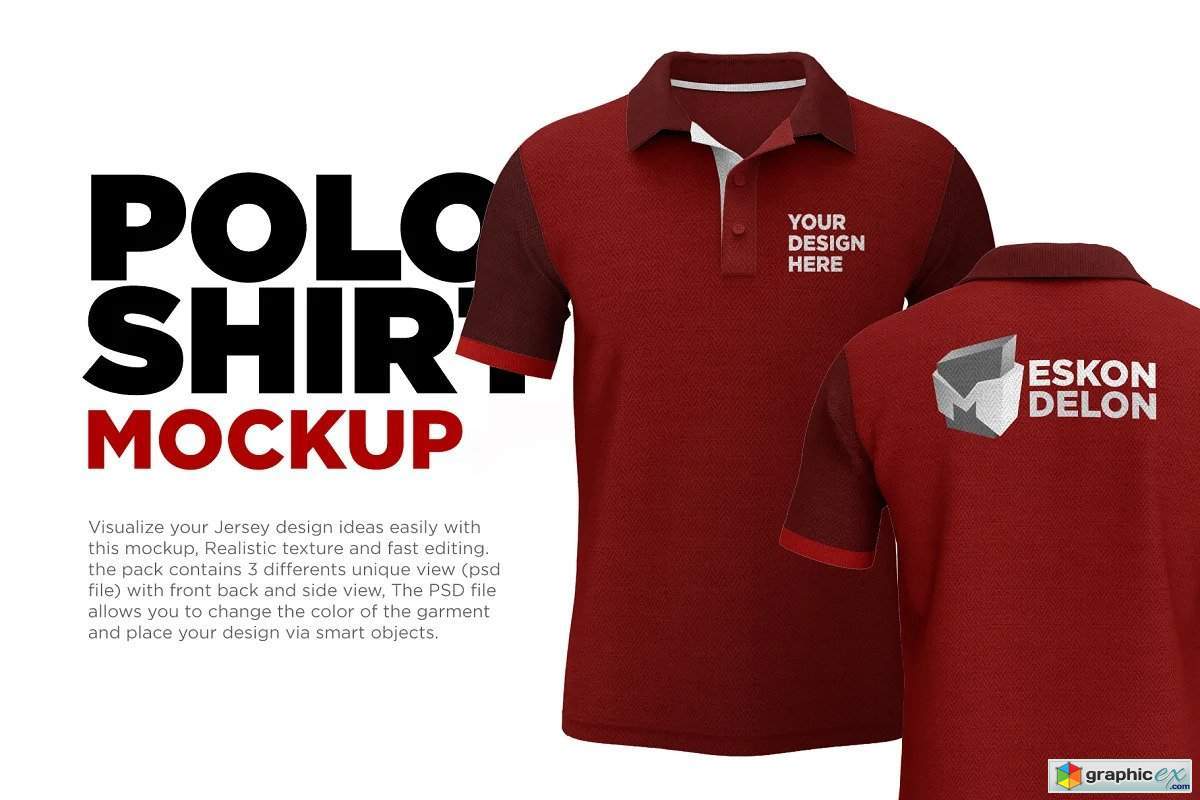
- A Polo Shirt Template (Highly Recommended): While you can start from a blank canvas, a pre-made polo shirt mockup template (often found online for free or purchase) provides a realistic base with folds, shadows, and a clear shape. This saves you a lot of time and makes your design look more professional and realistic. Look for templates that include separate layers for different parts of the shirt (body, collar, sleeves).
- Your Design Elements: Gather any logos, text, graphics, patterns, or images you plan to incorporate into your polo shirt design. Ensure these are high-resolution for the best quality.
Step-by-Step: Designing Your Polo Shirt in Photoshop
Now that you're prepared, let's begin the exciting process of designing your polo shirt.
1. Setting Up Your Canvas (or Template)
The first step is to get your workspace ready. If you're using a template, simply open it in Photoshop. Templates typically come with organized layers, often including "Smart Object" layers where you can easily place your designs. Look for layers clearly labeled for the main body, sleeves, or collar.
If you're starting from scratch, create a new document by going to `File > New`. Consider the dimensions carefully. For a digital mockup, a resolution of 1920x1080 pixels or larger is usually good. If you intend to print, use a higher resolution like 300 DPI (dots per inch) and dimensions appropriate for the actual print size (e.g., 12x12 inches for a large graphic area). Choose an RGB color mode for digital designs.
2. Adding Your Base Color and Texture (Optional)
If you're using a template, it might already have a base color layer. If not, or if you want to change it, create a new Solid Color Fill Layer (`Layer > New Fill Layer > Solid Color`). This allows you to easily change the shirt's color later without affecting other elements. Place this layer beneath your design layers.
To add realism, you can apply a subtle fabric texture. Find a seamless fabric texture image, place it above your base color layer, and set its blending mode to something like `Overlay`, `Soft Light`, or `Multiply` with reduced opacity. This will give your flat color the appearance of actual fabric.
3. Incorporating Your Logo and Graphics
This is where your design truly begins to take shape. Go to `File > Place Embedded` and select your logo or graphic file. Placing it as a Smart Object is crucial because it allows you to resize and transform it multiple times without losing quality.
- Positioning: Drag your design to the desired location on the polo shirt (e.g., left chest, back, sleeve).
- Resizing: Use the `Transform` tool (`Ctrl+T` or `Cmd+T`) to resize your design. Hold `Shift` while dragging a corner to maintain proportions.
- Warping for Realism: This is a key step for making your design look like it's actually on the fabric. With your Smart Object layer selected, go to `Edit > Transform > Warp`. This tool allows you to bend and distort your design to follow the natural curves and folds of the polo shirt. Experiment with the grid points and handles to match the contours of the fabric, especially around the chest area or any creases. This simple step dramatically enhances realism.
- Layer Masks: If your design overlaps parts of the shirt that should be on top (like a collar or a seam), use a layer mask. Add a layer mask to your design layer, then use a soft black brush to paint over the areas you want to hide, making your design appear to be underneath those elements.
4. Adding Text and Typography
If your design includes text (like a company name or a slogan), use the `Type Tool` (T) to add it. Choose a font that complements your design and brand identity. You can adjust the font size, color, kerning (spacing between letters), and leading (spacing between lines) in the `Character` panel (`Window > Character`).
Just like with graphics, you can also apply the `Warp` transformation to text layers to make them conform to the shirt's contours. Right-click the text layer and choose `Convert to Smart Object` first, then apply `Edit > Transform > Warp`.
5. Refining Details and Realism
The difference between a good design and a great one often lies in the subtle details:
- Shadows and Highlights: Add subtle shadows under collars, seams, or where the design might naturally cast a shadow on the fabric. Create new empty layers, set their blending mode to `Multiply` for shadows or `Screen` for highlights, and use a soft brush with low opacity and flow to paint these in. This adds depth and makes the design feel more integrated.
- Opacity Adjustments: Sometimes, reducing the opacity of your design layers slightly can make them look more like they're printed *on* the fabric rather than just pasted *over* it.
- Consistency: Ensure all elements look like they belong together and on the polo shirt. Check for color consistency, alignment, and overall balance.
Exporting Your Polo Shirt Design as a PNG
Once your design is perfect, the final step is to export it. PNG (Portable Network Graphics) is an excellent format for this purpose because it supports transparency, which is crucial if you want to use your design on different backgrounds or as part of a larger mockup.
1. Preparing for Export
Before exporting, do a quick review:
- Hide Unnecessary Layers: Make sure any template guides, hidden layers, or elements you don't want in the final output are turned off (click the eye icon next to the layer).
- Crop (Optional): If your template is much larger than the polo shirt itself, you might want to crop the canvas to focus solely on the shirt. Go to `Image > Crop`.
2. The Export Process (File > Export > Export As...)
This is the recommended modern way to export in Photoshop:
- Go to `File > Export > Export As...`
- In the "Export As" dialog box, select `PNG` from the `Format` dropdown menu.
- Ensure the `Transparency` checkbox is ticked. This is vital if you want your polo shirt design to have a transparent background.
- You can adjust the `Scale` if you need a smaller or larger output image.
- Review the `Canvas Size` and `Image Size` to ensure they are correct.
- Click the `Export` button, choose a location on your computer, and give your file a meaningful name.
3. Alternative: Save for Web (Legacy)
An older but still functional method is `File > Export > Save for Web (Legacy)...`
- In the "Save for Web" dialog, select `PNG-24` from the preset options.
- Make sure the `Transparency` checkbox is selected.
- You can adjust the image size and quality settings here.
- Click `Save`, choose your location, and name your file.
Tips for a Professional Finish
- Use High-Resolution Assets: Always start with high-quality images and logos to avoid pixelation.
- Save Your PSD File: Always save your Photoshop document (`.psd`) with all layers intact. This allows you to go back and make edits easily.
- Color Modes: While designing in RGB is fine for digital mockups, if you're sending your design to a professional printer, they might require CMYK. Discuss this with your printer beforehand.
- Get Feedback: Share your design with others to get fresh perspectives and identify areas for improvement.
Congratulations! You've successfully designed your own custom polo shirt in Photoshop and exported it as a transparent PNG. This skill is invaluable for personal projects, branding, and even building a portfolio.
In summary, this article guided you through the entire process of designing a polo shirt in Photoshop, starting with setting up your workspace using a template or a new canvas. We covered essential steps like applying base colors, incorporating logos and text using Smart Objects, and crucial techniques like the Warp tool for realistic placement on fabric. We also delved into refining details with shadows and highlights to enhance realism. Finally, the guide provided clear, step-by-step instructions on how to export your finished design as a high-quality PNG file, emphasizing the importance of transparency for versatile use, along with additional tips for achieving a professional outcome.